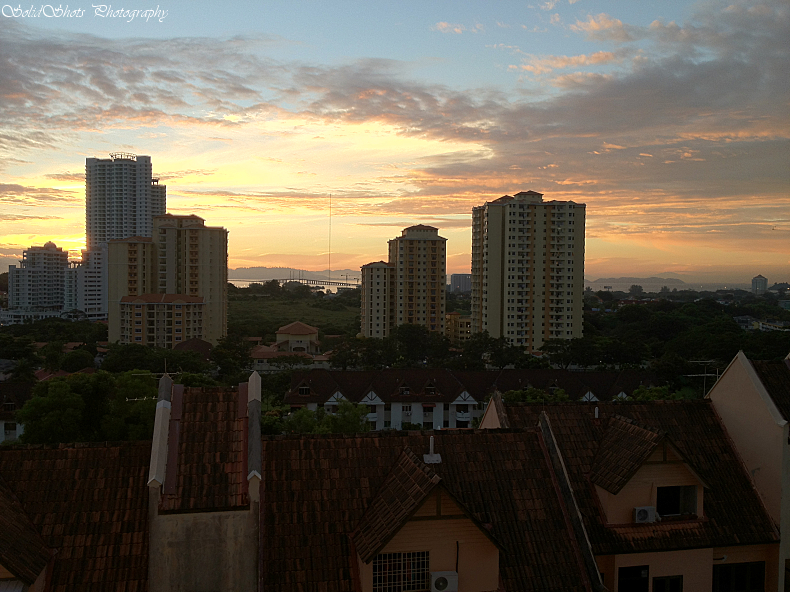
For today -by looking of this picture i took using iphone 4s, it is
pretty good, but not to my liking. So I made come modification on it to become the picture below.

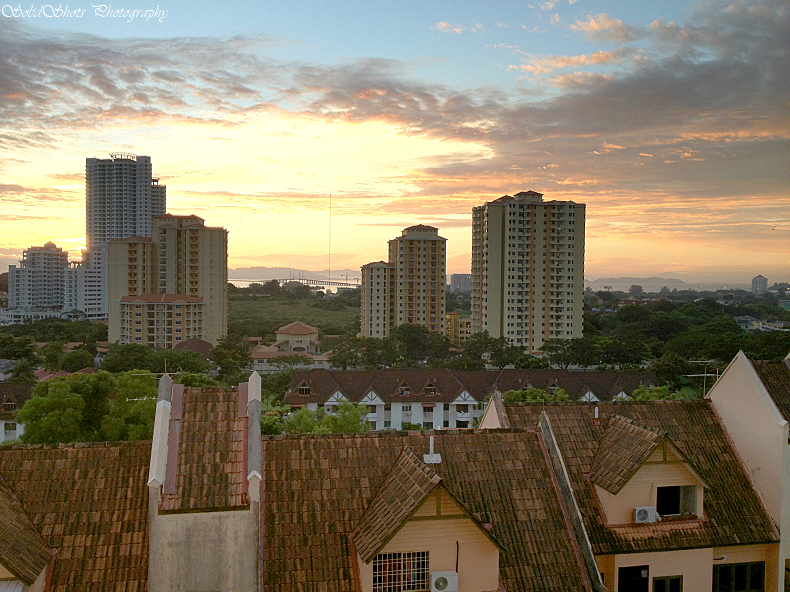
Final Picture - more impact and dramatic results.
First of all let me give you a short run though, then we go the pictures tutorial.
1. install GIMP @ www.gimp.org
2. load the original picture
3. duplicate it
4. open the levels and make the changes to the duplicated picture.
5. add layer mask
6. use the gradient tool
7. flatten the images
8. add contrast.
9. done.
phew! 9 simple steps to make a brilliant pictures. not bad.
lets continue with the pictures below.
Step 2 - Load the original pictures.
Step 3 - duplicate
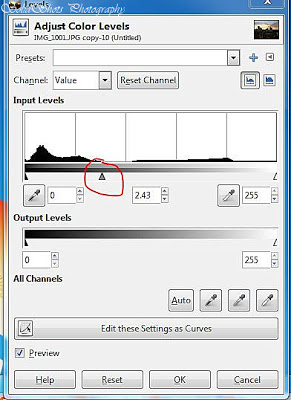
Step 4 - Open the levels, apply level on the duplicated pictures

Levels Output
Step 5 - Add later mask
Choose default - White (full opacity)
How to add - right-click on the picture in the layer palette
You should see this when it is added in the layer palette
Step 6 - Use the Gradient Tool

Drag from the middle down - re-drag to fit your likings. below
Step 7 - Flatten the image
After flattening - pictures will be like below, all blown ed out.
Step 8 - adjust contrast - same here slide to your liking
9. Final
Thank you


No comments:
Post a Comment