

Monday, January 28, 2013
2013 NANOE filter cleaning
Sunday, January 27, 2013
2013 Forest Restaurant - Kulim


Tuesday, January 22, 2013
Home lighting specs
HALL

Wall lamp E27 18W or 8W
Ceiling E14 18W or 8W
KITCHEN
Ceilling E14
Wall 12" T5
DINING
Ceilling E27 25W or higher
MASTER ROOM
E27
TOILET
PLC 2P
Osram 10w /865
Osram 10w /865
1st ROOM
E14
Sunday, January 20, 2013

2013 Simple blending with GIMP
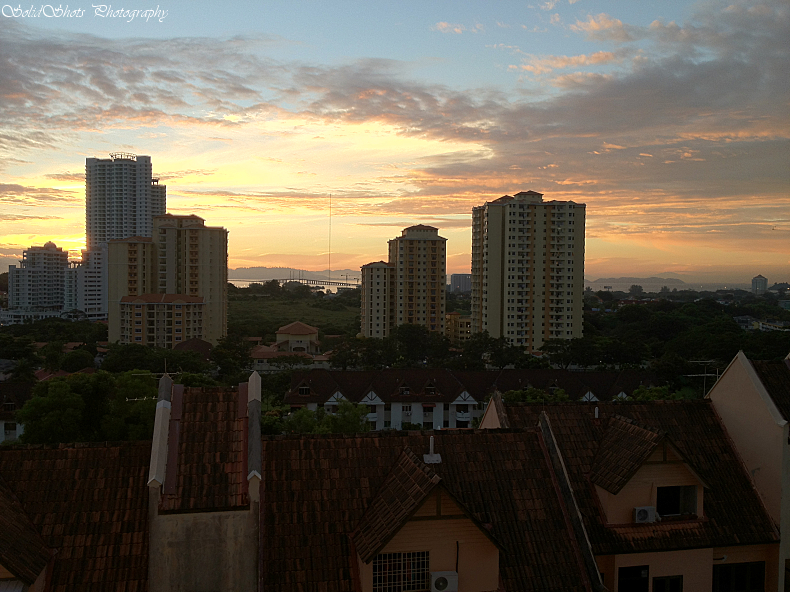
For today -by looking of this picture i took using iphone 4s, it is
pretty good, but not to my liking. So I made come modification on it to become the picture below.
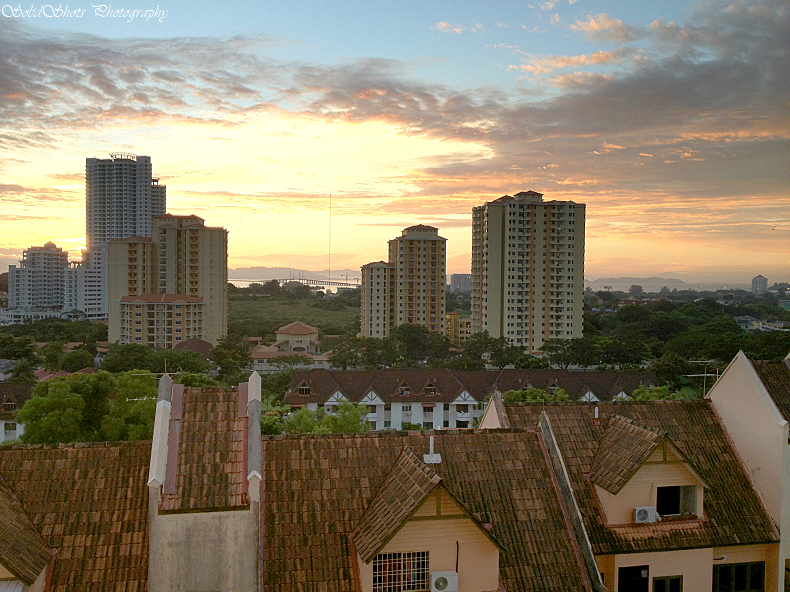
Final Picture - more impact and dramatic results.
First of all let me give you a short run though, then we go the pictures tutorial.
1. install GIMP @ www.gimp.org
2. load the original picture
3. duplicate it
4. open the levels and make the changes to the duplicated picture.
5. add layer mask
6. use the gradient tool
7. flatten the images
8. add contrast.
9. done.
phew! 9 simple steps to make a brilliant pictures. not bad.
lets continue with the pictures below.
Step 2 - Load the original pictures.
Step 3 - duplicate

Step 4 - Open the levels, apply level on the duplicated pictures
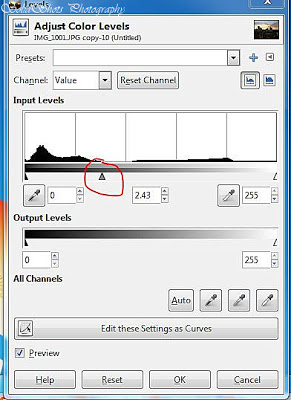
Levels Output

Step 5 - Add later mask
Choose default - White (full opacity)
How to add - right-click on the picture in the layer palette

You should see this when it is added in the layer palette

Step 6 - Use the Gradient Tool

Drag from the middle down - re-drag to fit your likings. below

Step 7 - Flatten the image

After flattening - pictures will be like below, all blown ed out.

Step 8 - adjust contrast - same here slide to your liking

9. Final
Thank you
Saturday, January 19, 2013

Wednesday, January 16, 2013
2013 home improvement before Chinese New Year
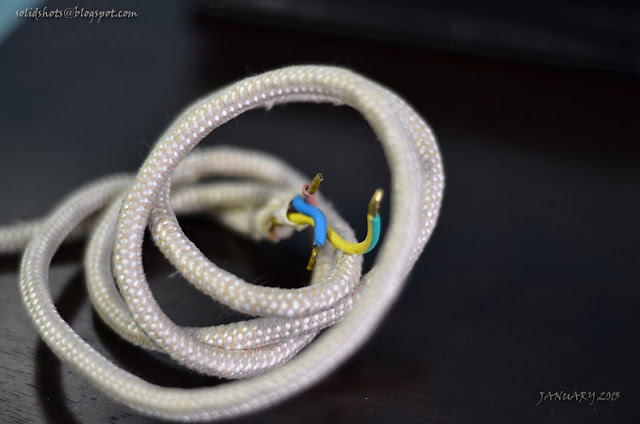
This one century cable has made its journey to the end of its life, where the condition on the braided white insulation has been like ones jeans, like those rugged ones. So time to change.
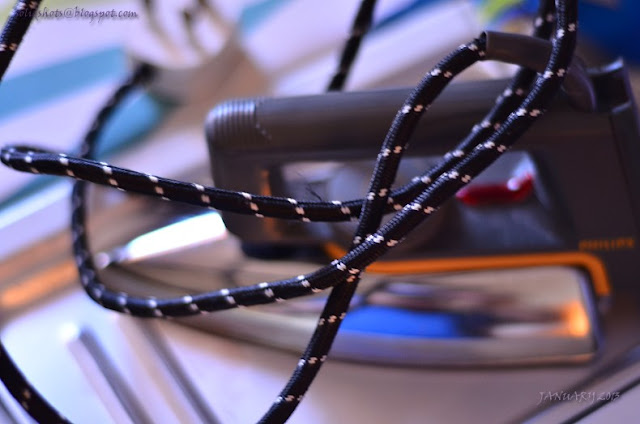
Changing this one is a real challenge, since i did not see the inside of the iron, on how the cables are connected, apparently it has a creaming connectors to make the wire easier to be screwed into the connection, so key learning, checked before starting. :D , now my wife is safe and happy ironing.!!!
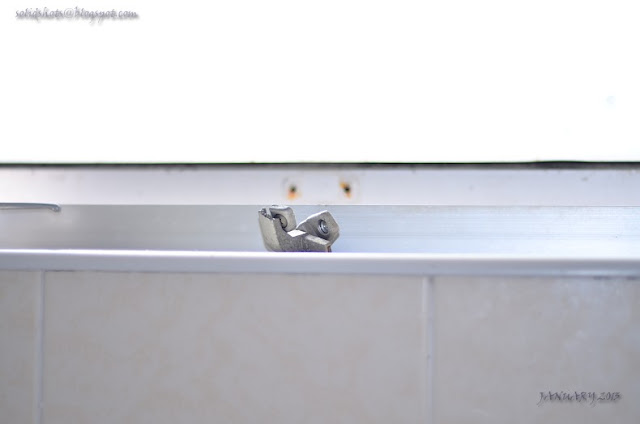
Ok for now this window pane - which have been broken so such a long time, well since it is really not so important that needs immediate attention, the importance here is to make this toilet look nice. For this installation, I found out that one of the holes are too big for the screw, so innovation takes precedence here, in order to make the locks safe and can be attached tightly on the frame, I make a new hole, just by the side and the attachment is good.
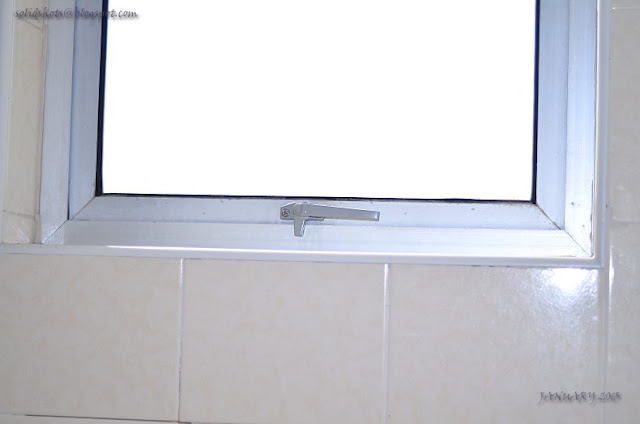
ta...da, completed.
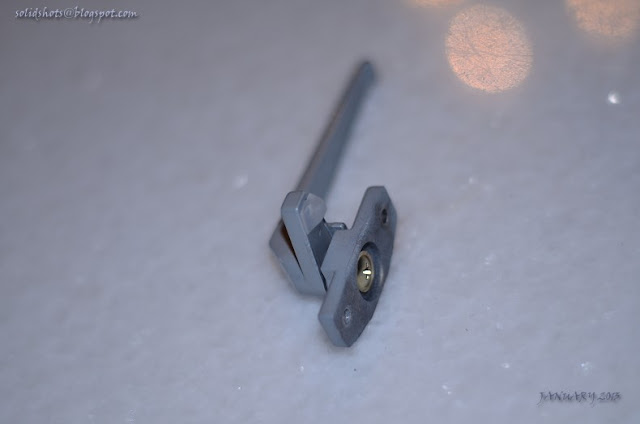
This is what being replaced

This panels have been giving me problem with the connection, it cannot be connected properly, like loosen and the lights will go off, so if this were to happened to you, please only use this intermittent connection on non critical electrical items, e.g lights and not computers. This must be inferior since day one....time to change
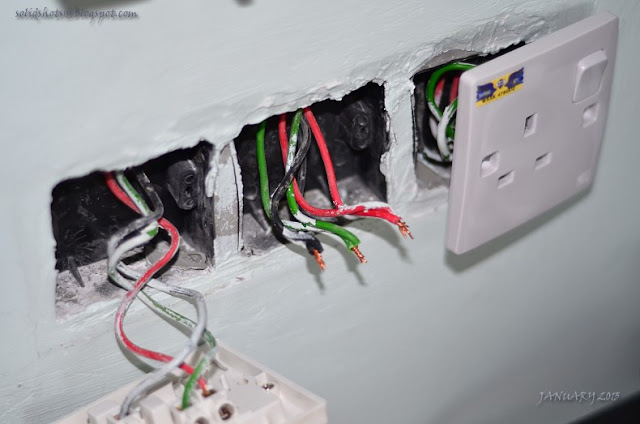
Tricky - first, I repeat....first, make sure there is no current comes here!!!!. after that simple, remove this studs by the side, can you see, the rounded ones with a test pen, or anything sharp. Then attached the cables back - start by the L (live - red or brown), E (earth - green) and N (neutral - blue), color codes might be different in different country. After that put back all the panels, and do not screw all tight just yet, have some leverage for adjustments.


also replaced this one for the better.
Sunday, January 13, 2013
IPAD IOS. Upgraded to 6.0.1
What an experience, before that I have already downloaded the Ipsw into my computer to perform the upgrade, but somehow the iTunes crash and the error say that there is something wrong and the upgrade would not be completed and I would Need to restore the IPAD before I could upgrade, this took me nearly 6 hours, as I need to perform the entire download of the Ipsw and upgrade from the iTunes, with my slow network. At the end all works out accordingly.

Friday, January 11, 2013
Subscribe to:
Posts (Atom)