This one century cable has made its journey to the end of its life, where the condition on the braided white insulation has been like ones jeans, like those rugged ones. So time to change.
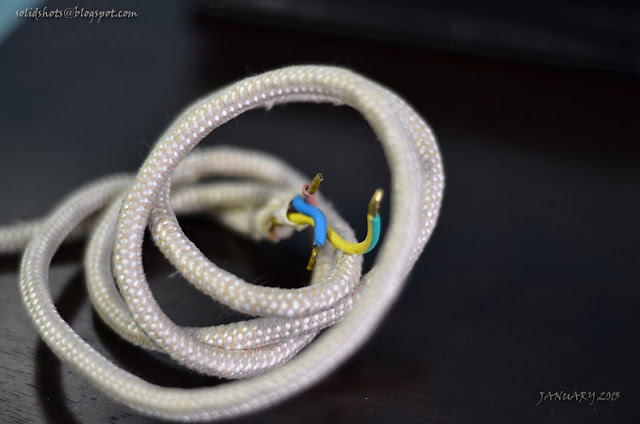
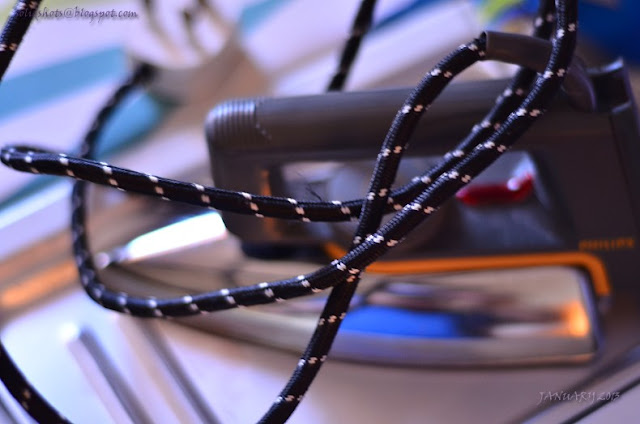
Changing this one is a real challenge, since i did not see the inside of the iron, on how the cables are connected, apparently it has a creaming connectors to make the wire easier to be screwed into the connection, so key learning, checked before starting. :D , now my wife is safe and happy ironing.!!!
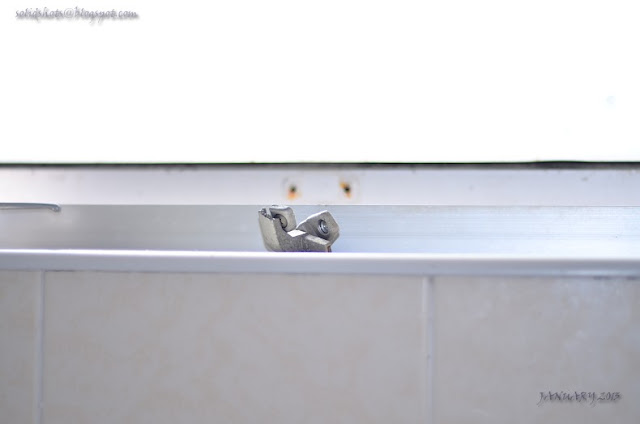
Ok for now this window pane - which have been broken so such a long time, well since it is really not so important that needs immediate attention, the importance here is to make this toilet look nice. For this installation, I found out that one of the holes are too big for the screw, so innovation takes precedence here, in order to make the locks safe and can be attached tightly on the frame, I make a new hole, just by the side and the attachment is good.
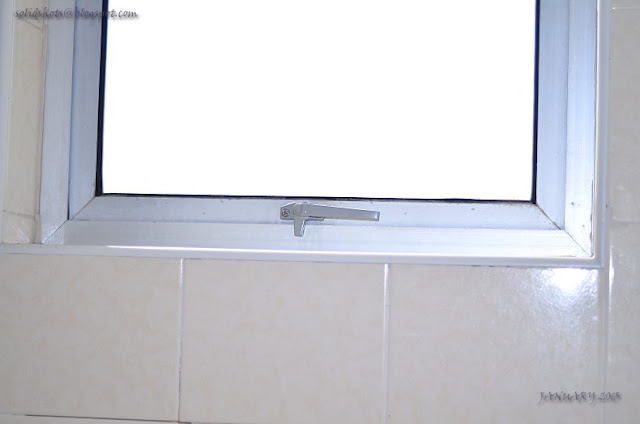
ta...da, completed.
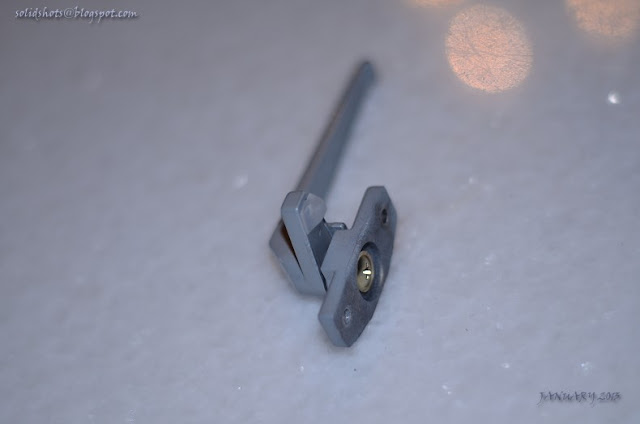
This is what being replaced
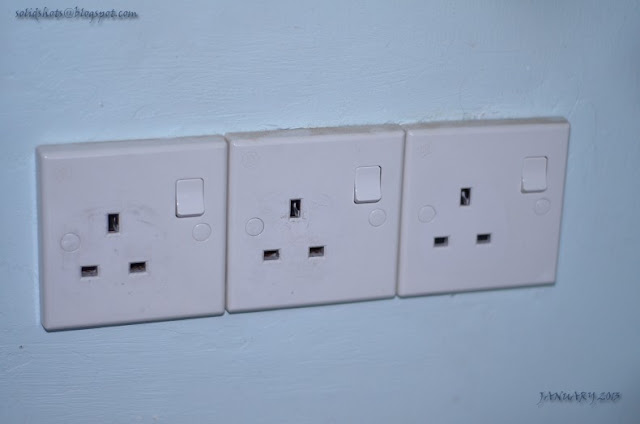
This panels have been giving me problem with the connection, it cannot be connected properly, like loosen and the lights will go off, so if this were to happened to you, please only use this intermittent connection on non critical electrical items, e.g lights and not computers. This must be inferior since day one....time to change
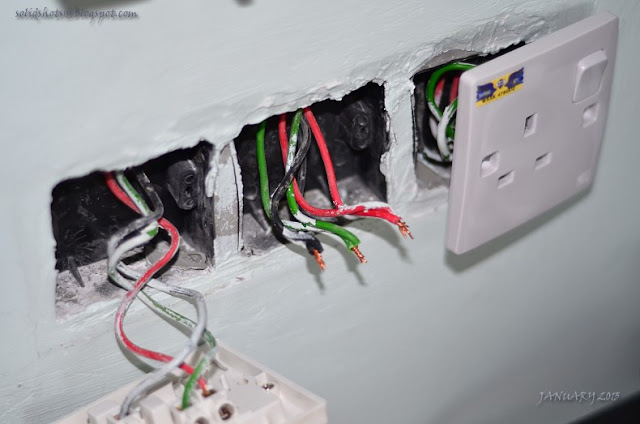
Tricky - first, I repeat....first, make sure there is no current comes here!!!!. after that simple, remove this studs by the side, can you see, the rounded ones with a test pen, or anything sharp. Then attached the cables back - start by the L (live - red or brown), E (earth - green) and N (neutral - blue), color codes might be different in different country. After that put back all the panels, and do not screw all tight just yet, have some leverage for adjustments.
Ta---da, the new ones, So how much would one save$$ by DIY for this matter.

also replaced this one for the better.


No comments:
Post a Comment