Showing posts with label Photography. Show all posts

Wednesday, March 20, 2013

Comparison - clip to the right, and blending modes.

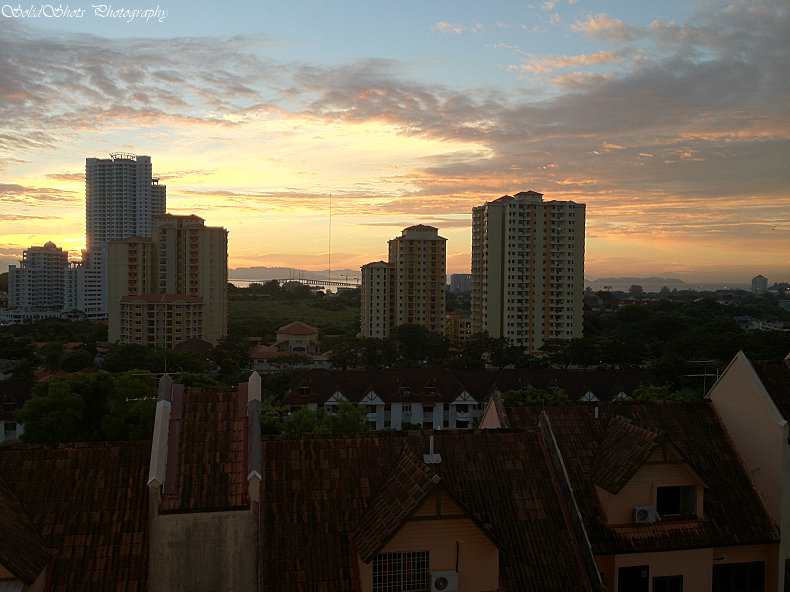
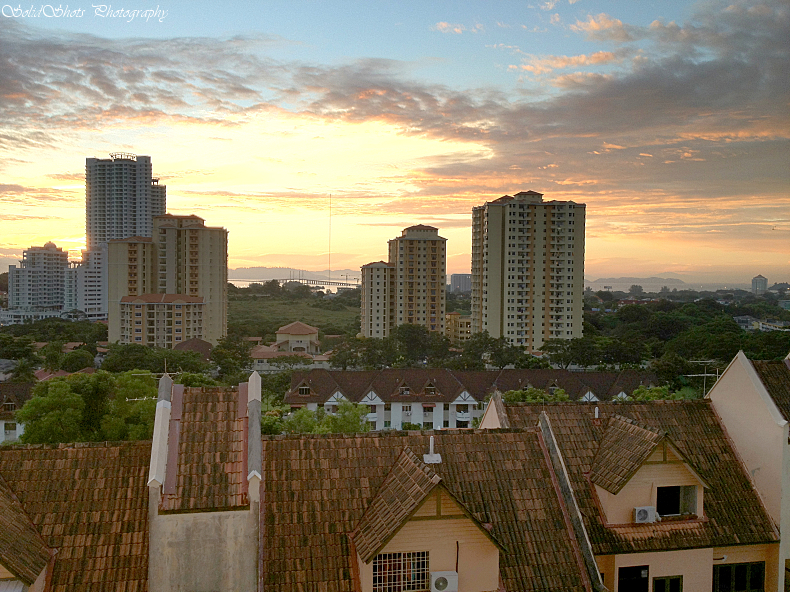
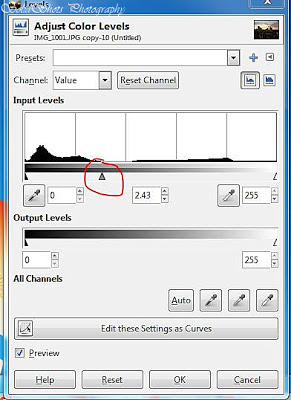
Today I just got the task to replace our toilet light bulbs, there are lesson learn here, but i will elaborate more on that later, now it's the time for photography tips. As you can see the below to pictures, both are taken with 50mm 1.8D and flash sets to manual, i just control the power using the aperture mode. So the one below here are the ones that I clip the lights to the right, so this is brighter (pic 1). Details of the histogram shown in pic 2.


Pic 1
Pic 2

Here on Pic 3 i shoot it as pretty balance in the middle of the histogram.


 Pic 3
Pic 4


Here Pic 5, I use the previous blending mode to increase the contrast.

 Pic 5


Pic 6 , i just run the autolevel with the pic 1.

Pic 6


Lastly Pic 7 - I just applied a little unsharp mask.

Well for me I would say that clipping the light to the right of the histogram is the way for me. Even without any manipulations it is already good. So, you guys be the judge.

Sunday, March 17, 2013

Gimp boost colors and contrast with blend modes

 Before
After

So here are the steps, after reading Digital SLR Photography for APril 2013. I somehow tried this on GIMP, of course you cannot compare the powers of the Adobe Lightroom, or rather I would say a easier way to completed those changes. Well, GIMP is FREE, and also capable of achieving the same results.

So here,
1. Open your photos
2. Click duplicate at the bottom of the tool palatte
3. top menu - colors -> hue-saturation, on the hue slide all the way down to 0 and play around with the Lightness
4. on the layers - choose Overlay (75% opacity) as the blending mode.
5. merge the photos and done

What i like about the above is that, it make the photos separate the skies and the building, this is more 3D and realistic.

Try it!


Sunday, January 20, 2013

2013 Simple blending with GIMP


For today -by looking of this picture i took using iphone 4s, it is pretty good, but not to my liking. So I made come modification on it to become the picture below.
 
Final Picture - more impact and dramatic results.


First of all let me give you a short run though, then we go the pictures tutorial.

1. install GIMP @ www.gimp.org
2. load the original picture
3. duplicate it
4. open the levels and make the changes to the duplicated picture.
5. add layer mask
6. use the gradient tool
7. flatten the images
8. add contrast.
9. done.

phew! 9 simple steps to make a brilliant pictures. not bad.


lets continue with the pictures below.


Step 2 - Load the original pictures.

Step 3 - duplicate


Step 4 - Open the levels, apply level on the duplicated pictures


Levels Output


Step 5 - Add later mask
Choose default - White (full opacity)
How to add - right-click on the picture in the layer palette


You should see this when it is added in the layer palette


Step 6 - Use the Gradient Tool


Drag from the middle down - re-drag to fit your likings. below


Step 7 - Flatten the image
After flattening - pictures will be like below, all blown ed out.


Step 8 - adjust contrast - same here slide to your liking


9. Final


Thank you


Sunday, September 2, 2012

2012 Kulim Golfing

Nice timing to get this one, this was at the 18 hole, where i saw the sun in coming down and a friend was just walking to get his turn.

Monday, January 9, 2012

2012 Jan Tokun Hill BM Penang


station 2.5 (below)

This is my first time here and I have made a accomplishment by ascending to 400ft above sea level which they called 2.5 check point. Not too sure why they call that? This place is pack with hikers especially old folks whom take a slow stroll up the hill for some sweat.

It is cooling and the hike was quite tough for me compare to Berapit, this is a longer hike and the trails was not even, so you need to strike a balancing point while walking.

after all it is a nice place.

Wednesday, June 22, 2011

2011 FIF - Futuromic Imaging Fair 2011

Dear readers,
FIF is coming to Penang 1st to 3rd (Friday to Sunday) July 2011 at QueensBay Mall. There will be great offers for photographic equipment under their belt, there will also be model shooting and dance performances. USM also will be setup up a photo gallery themed "Life In Penang". some of the participating brands items on sale includes:
Agfa photo
Black Rapid
Cybertik
Eureka
Jenova
Kenko
Matin
Nikon
Pro Tama
Ricoh
Sandisk
Sunpak
Tamron
Velbon

there will be competition where prizes worth more that RM10000 to be won.

Saturday, November 6, 2010

camera flash lightings techniques


Perform a test after reading some site about using the aperture to control the lights, by setting the flash to manual mode. Indeed success. here are some examples above. Well what i meant here is that when you set the falsh to manual and you just need to control the lighting using the aperature dial, but first setup your mode to Aperature priority.

The settings for the above pictures if you cannot see it.

1.   1/60sec flash 1/4 manual, F8
2.   1/60sec, flash 1/4 manaul, F4
3. 1/60sec, flash 1/4 manual, F2.8

i just use the aperature dial to twick the lightings. try it! sure you like it.

This one shot with Tammy 17-50VC 2.8 :D